apollo 学习记录

Apollo分布式配置中心
1.Apollo快速开始
下载Quick Start安装包
创建ApolloPortalDB和apolloConfigDB数据库
配置数据库连接信息
1
2
3
4
5
6
7
8
9
echo
set url="localhost:3306"
set username="root"
set password="123456"
start "configService" java -Xms256m -Xmx256m -Dapollo_profile=github -Dspring.datasource.url=jdbc:mysql://%url%/ApolloConfigDB?characterEncoding=utf8 -Dspring.datasource.username=%username% -Dspring.datasource.password=%password% -Dlogging.file=.\logs\apollo-configservice.log -jar .\apollo-configservice-1.3.0.jar
start "adminService" java -Xms256m -Xmx256m -Dapollo_profile=github -Dspring.datasource.url=jdbc:mysql://%url%/ApolloConfigDB?characterEncoding=utf8 -Dspring.datasource.username=%username% -Dspring.datasource.password=%password% -Dlogging.file=.\logs\apollo-adminservice.log -jar .\apollo-adminservice-1.3.0.jar
start "ApolloPortal" java -Xms256m -Xmx256m -Dapollo_profile=github,auth -Ddev_meta=http://localhost:8080/ -Dserver.port=8070 -Dspring.datasource.url=jdbc:mysql://%url%/ApolloPortalDB?characterEncoding=utf8 -Dspring.datasource.username=%username% -Dspring.datasource.password=%password% -Dlogging.file=.\logs\apollo-portal.log -jar .\apollo-portal-1.3.0.jar启动Apollo配置中心,端口不能被占用
- 执行runApollo.bat脚本

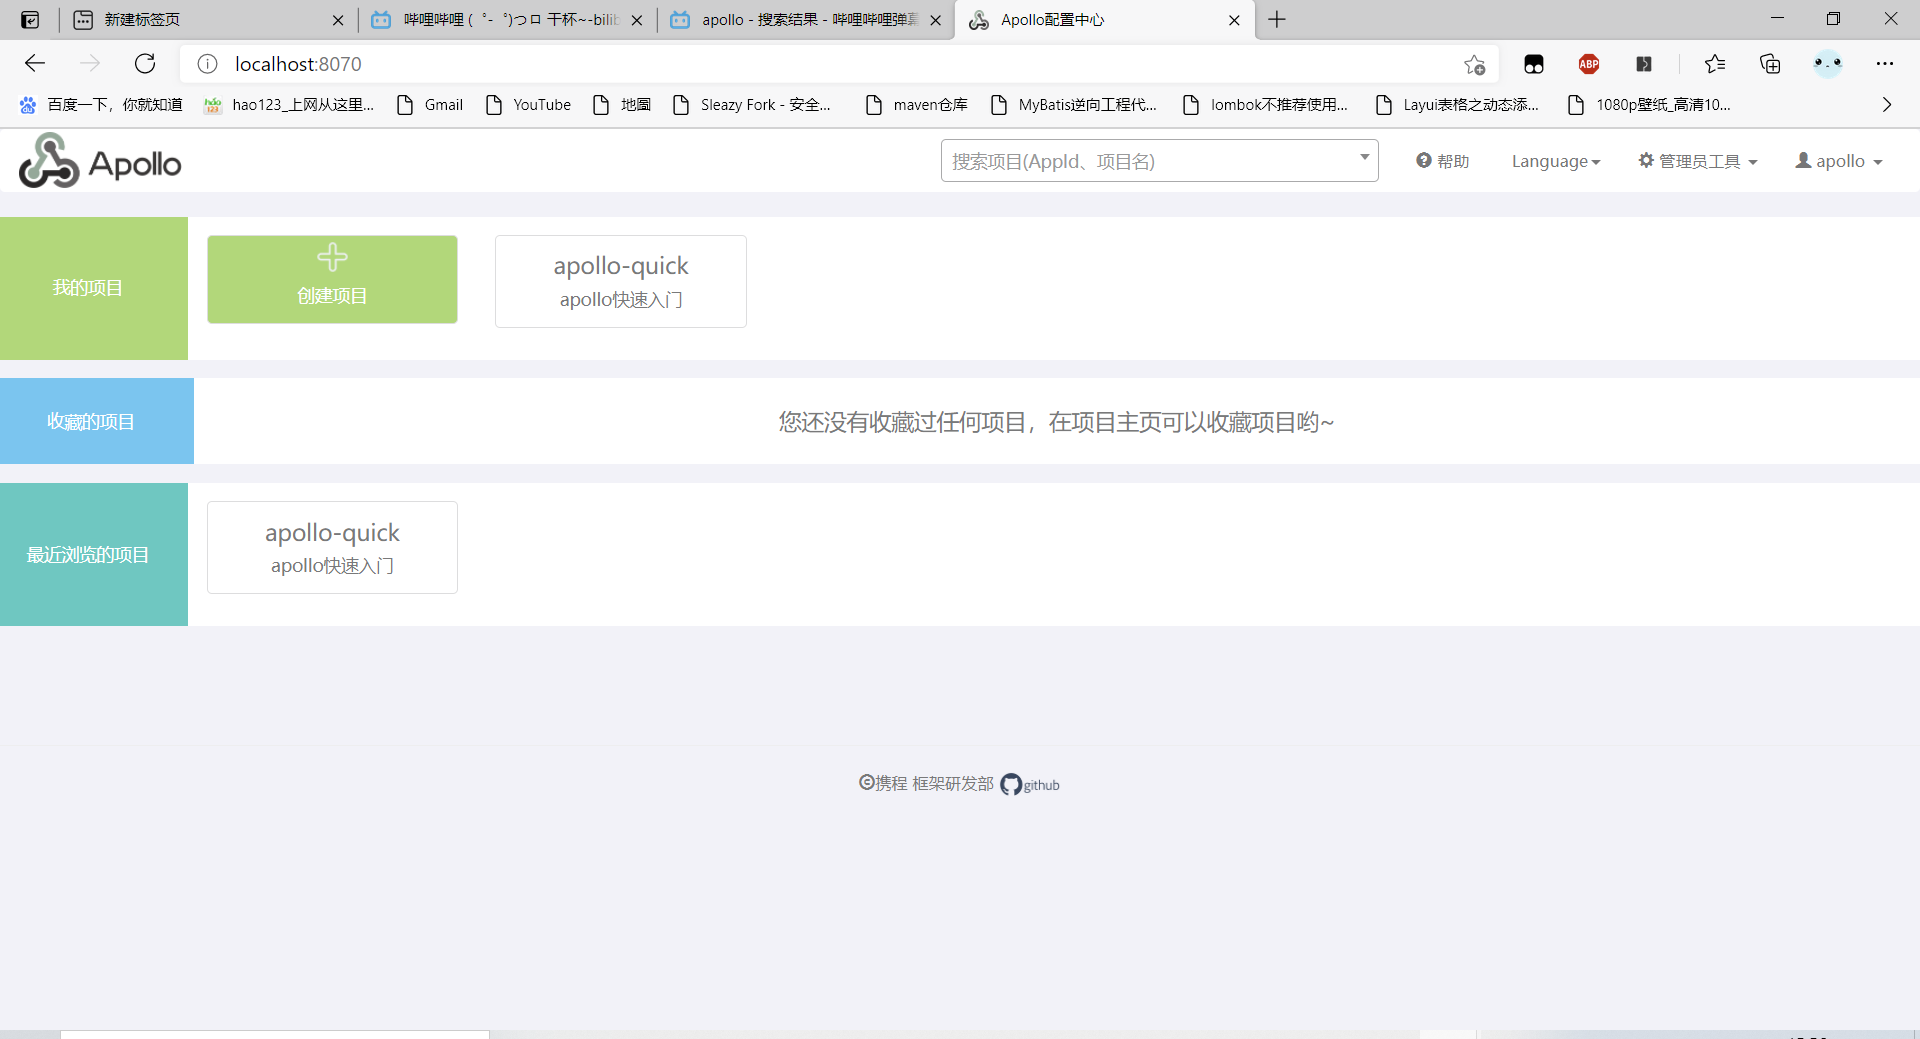
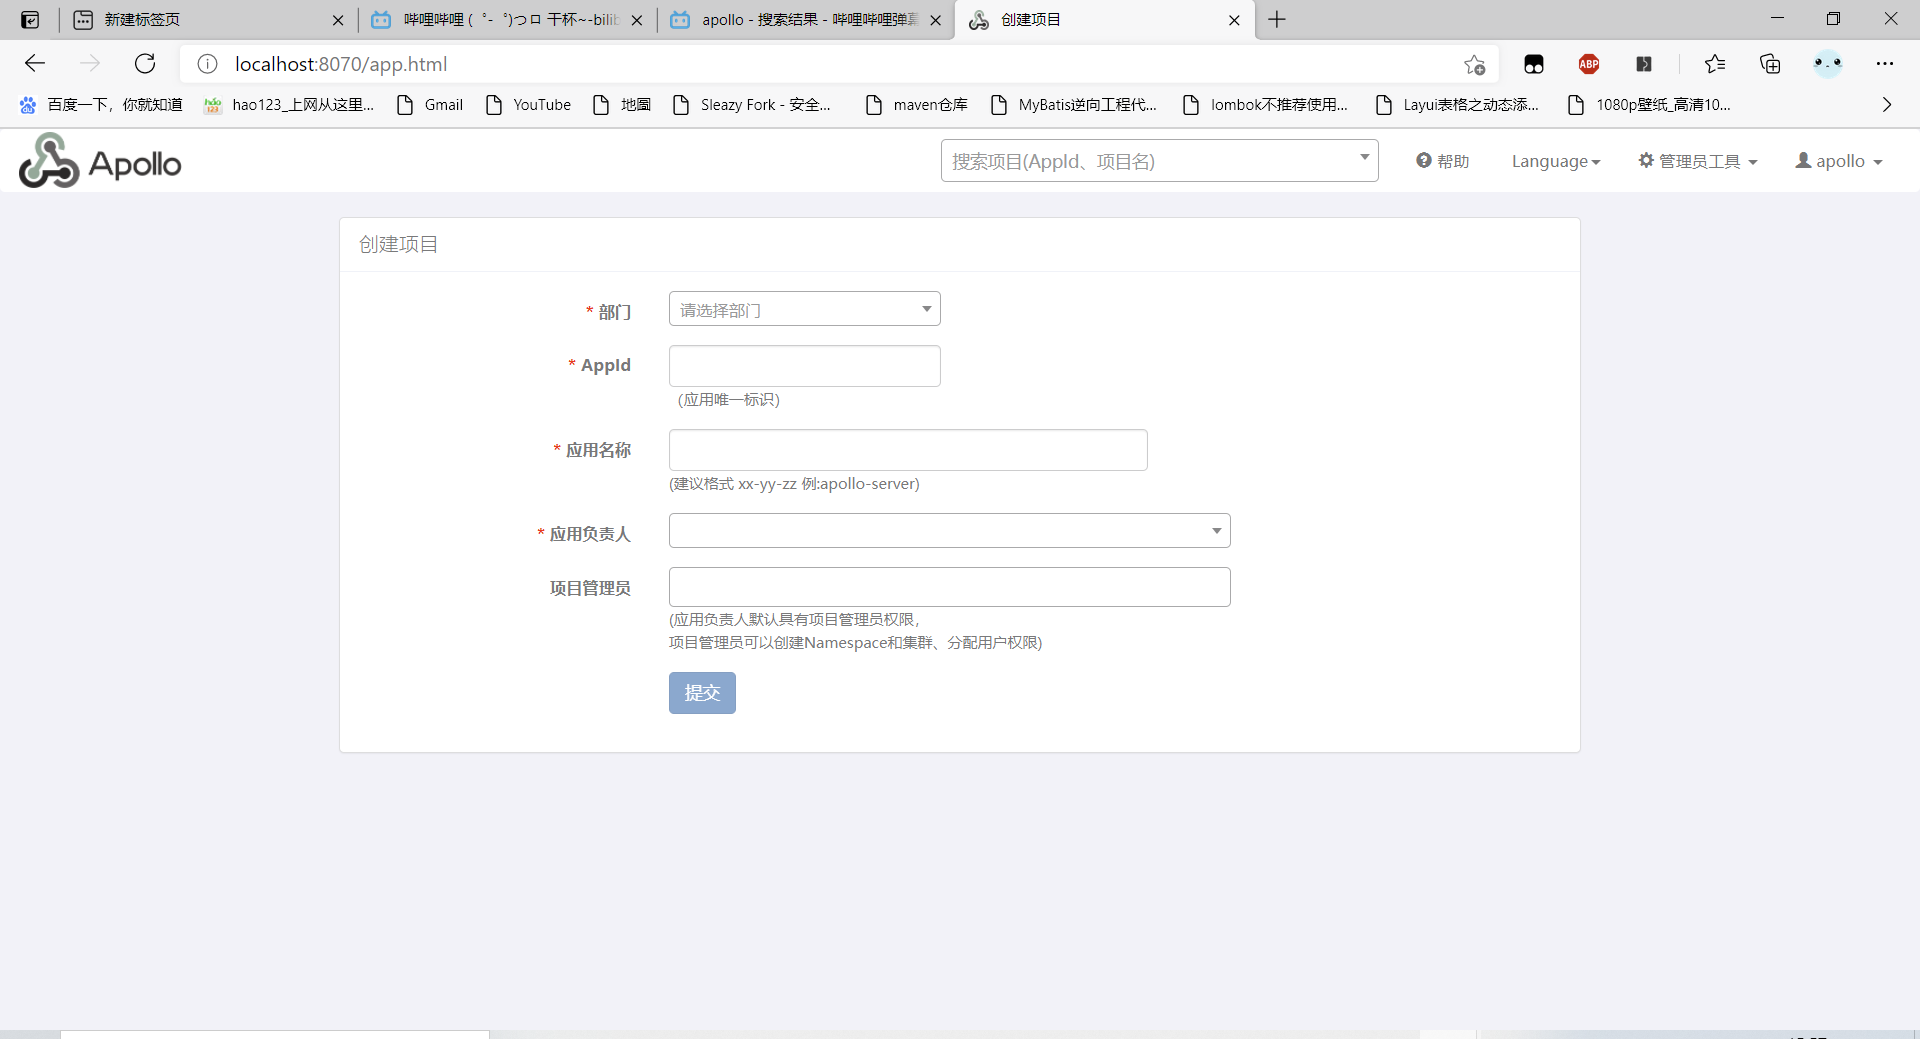
创建一个Apollo项目
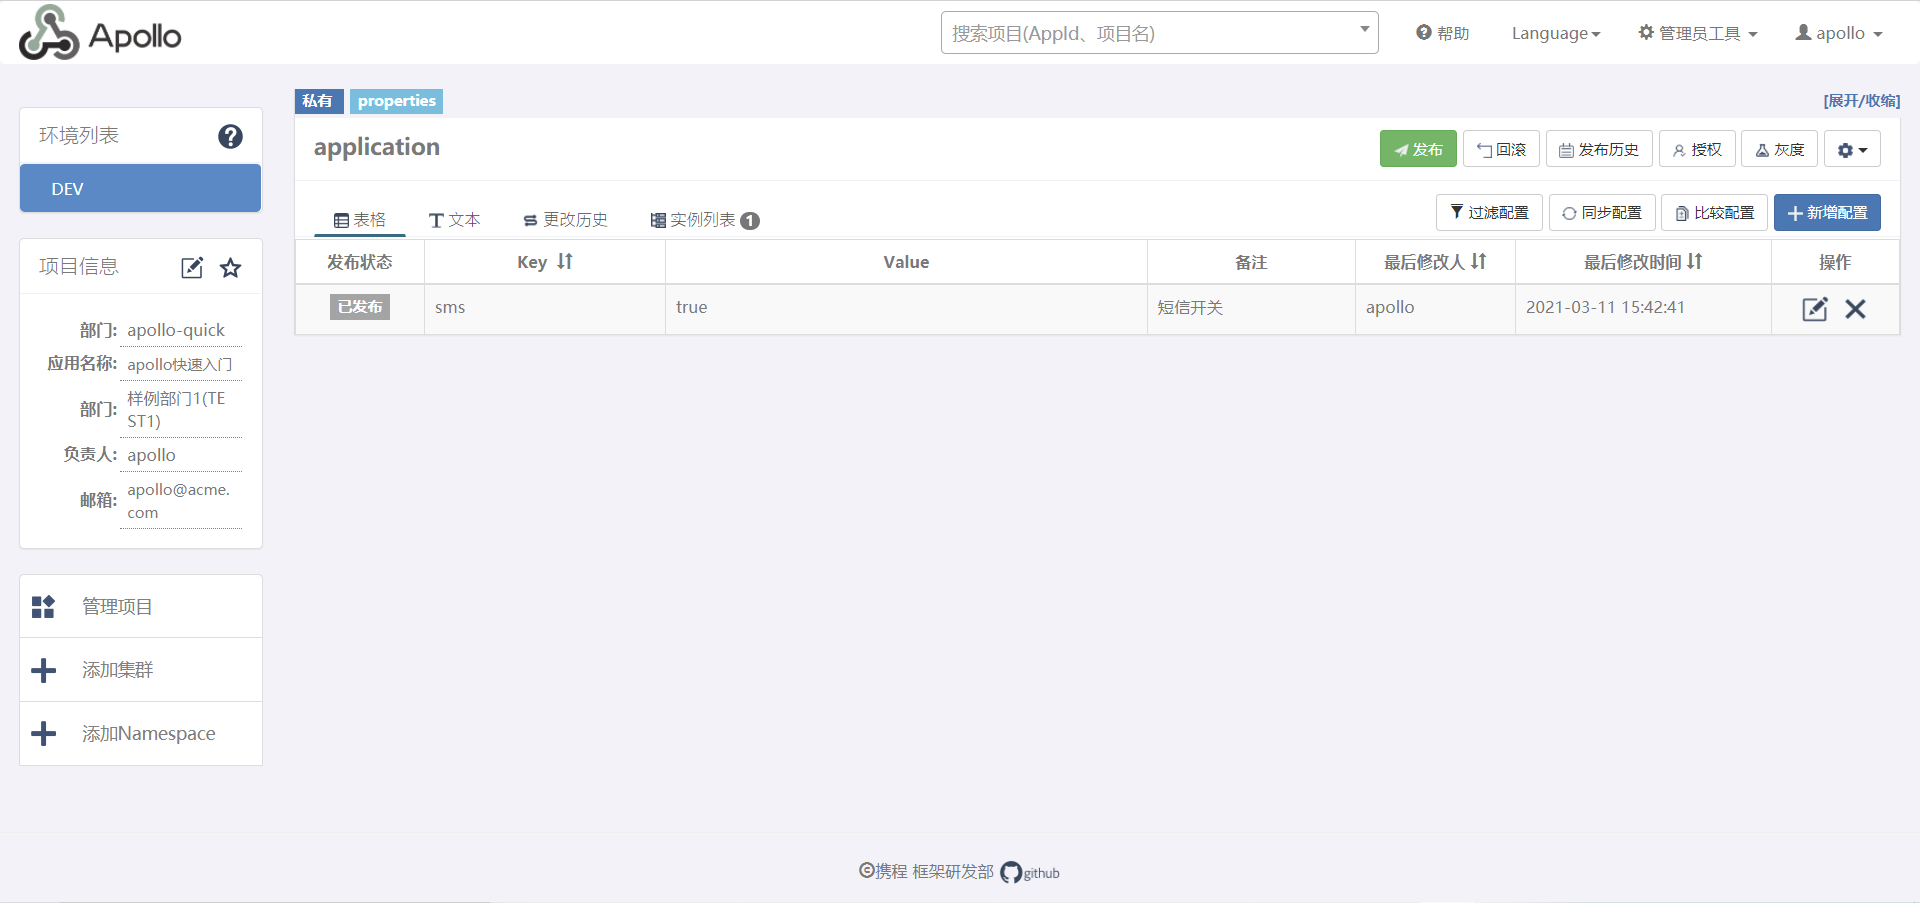
创建需要的配置
创建完成后用Idea测试,创建一个spring boot项目
引入依赖
1
2
3
4
5
6<dependency>
<groupId>com.ctrip.framework.apollo</groupId>
<artifactId>apollo-client</artifactId>
<version>1.8.0</version>
</dependency>指定配置项目的id 环境 和地址
1
-Dapp.id=apollo-quick -Denv=DEV -Ddev_meta=http://localhost:8080
测试类进行测试
1
2
3
4
5
6
7
8
9
10
11
12
13
14
15
16
17
18
19
20
@Slf4j
@SpringBootTest
class Project7ApplicationTests {
@Test
void contextLoads() {
Config appConfig = ConfigService.getAppConfig(); //获取配置对象
//Apollo是热发布的,实时更新,使用方法测试
while (true){
try {
Thread.sleep(1000);
//获取配置信息,第一个参数:配置的key,第二个参数:默认值
String sms = appConfig.getProperty("sms", null);
log.info("sms: "+sms);
} catch (InterruptedException e) {
e.printStackTrace();
}
}
}
}2.Apollo核心概念
1.application(应用)
就是实际使用配置的应用,Apollo客户端在运行时需要知道当前应用是谁从而可以去获取对应的配置 关键字:appId
2.environment(环境)
配置对应的环境,Apollo客户端在运行时需要知道当前应用处于哪个环境,从而可以去获取应用的配置 关键字:env
3.cluster(集群)
一个应用下不同实例的分组,比如典型的可以按照数据中心分。把上海机房的应用实例分为一个集群,把北京机房的应用实例分为另一个集群。 关键字:cluster
4.namespace(命名空间)
一个应用下不同配置的分组,可以简单的把namespace类比为文件,不同类型的配置放在不同的文件中,如数据库配置文件,RPC配置文件,应用自身的配置文件等。 关键字:namespace
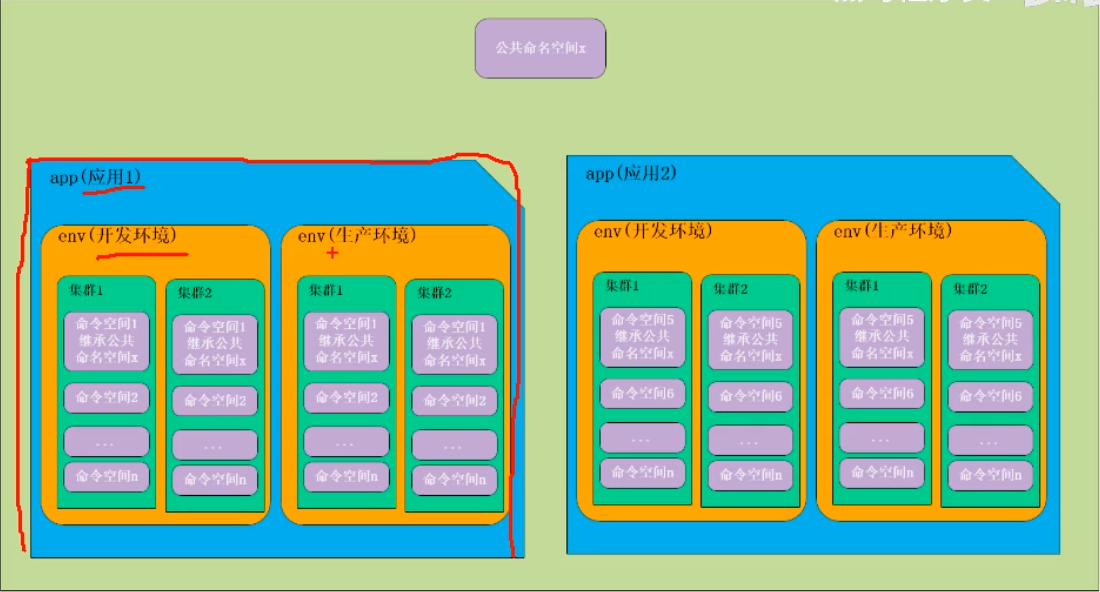
他们的关系图:
3.Apollo项目管理
1.基础设置
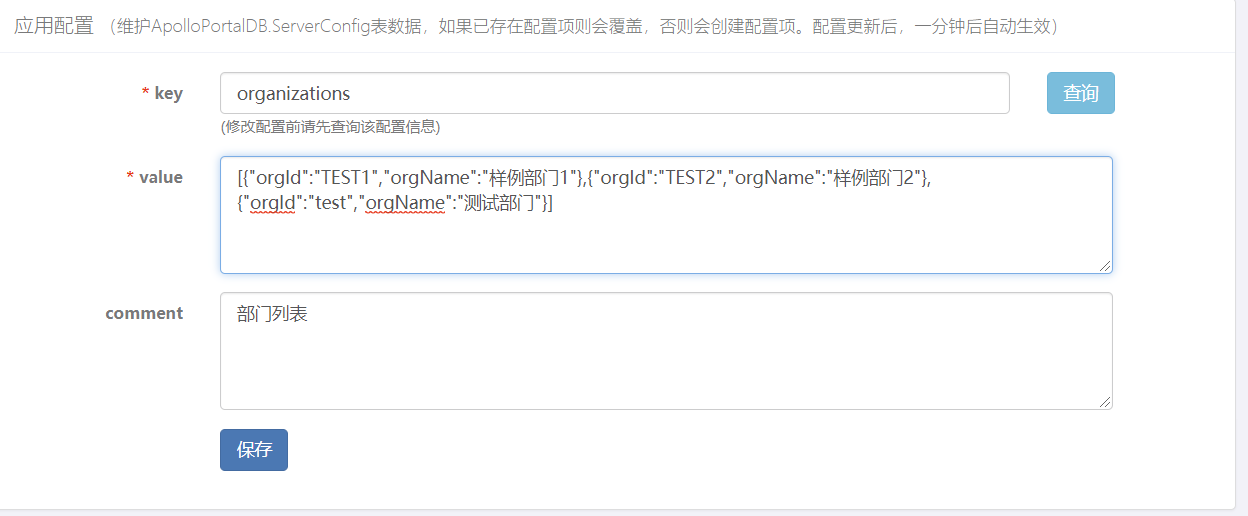
添加部门
- Apollo主页 –> 管理员工具 –> 系统参数
查询配置信息:organizations然后在返回的json数据中添加
添加用户
Apollo主页 –> 管理员工具 –> 用户管理
删除项目
- Apollo主页 –> 管理员工具 –> 删除应用,集群

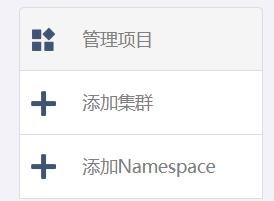
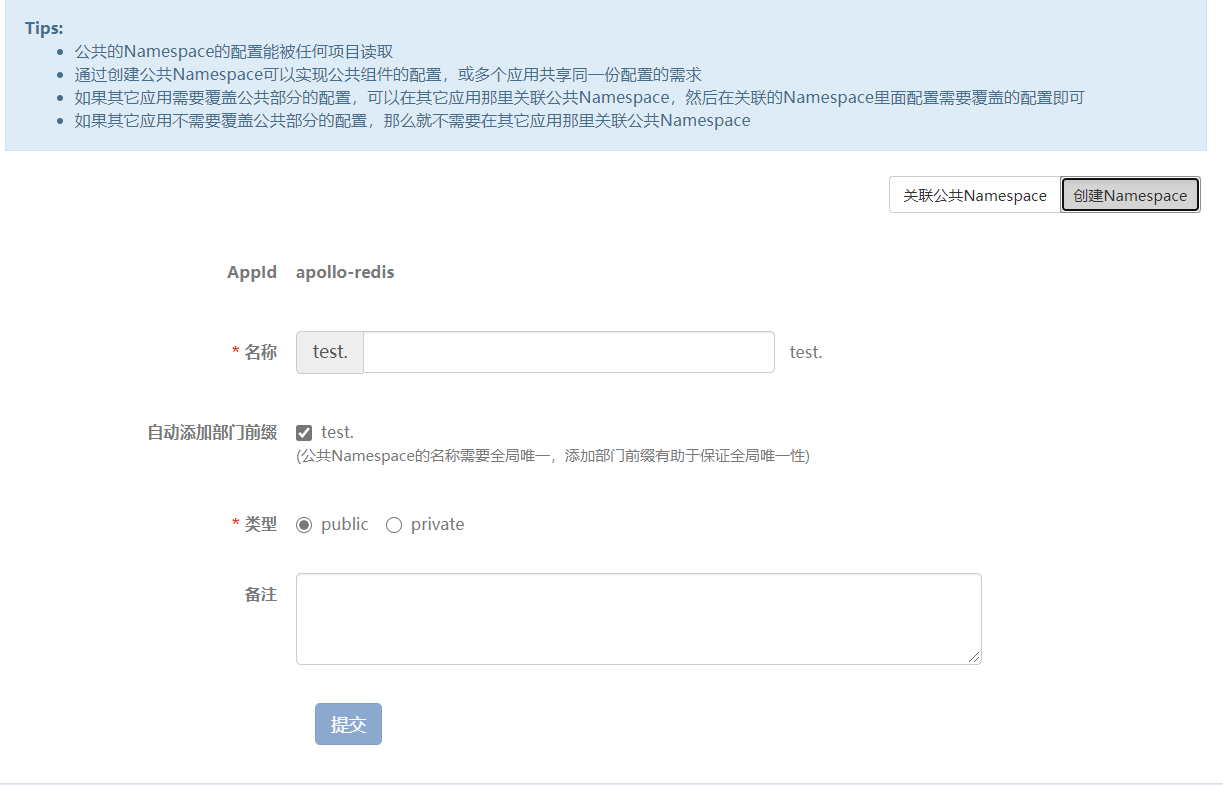
2.添加Namespace
快捷导入配置
复制配置放入文本中
获取namespace的配置
1
2
3
4
5
6
7
8
9
10
11
12
13
14
15
16
17
18
19
20
@Slf4j
@SpringBootTest
class Project7ApplicationTests {
@Test
void contextLoads() {
// Config appConfig = ConfigService.getAppConfig(); 获取默认namespace下的配置信息
//获取指定namespace下的配置信息
Config appConfig = ConfigService.getConfig("apollo-redis");
while (true){
try {
Thread.sleep(1000);
String sms = appConfig.getProperty("spring.redis.host", null);
log.info("spring.redis.host: "+sms);
} catch (InterruptedException e) {
e.printStackTrace();
}
}
}
}4.springboot集成Apollo
1.使用@value注解获取
导入依赖
1
2
3
4
5<dependency>
<groupId>com.ctrip.framework.apollo</groupId>
<artifactId>apollo-client</artifactId>
<version>1.8.0</version>
</dependency>编写Apollo相关的配置
1
2
app.id=apollo-quick
apollo.meta=http://localhost:8080使用controller进行测试
1
2
3
4
5
6
7
8
9
10
11
12
@EnableApolloConfig //
@RestController
public class apolloController {
    @Value("${mysql}") //获取key为mysql的配置
    private String name;
    @GetMapping("/mysql")
    public Object getapollo(){
        return "mysql"+name;
    }
}

获取指定namespace的值
1
2
3
4
5
6
7
8
9
10
11
12
13
14
@RestController
@EnableApolloConfig("redis") //指定namespace名称
public class redisController {
@Value("${spring.redis.host}")
private String redisHost;
@Value("${spring.redis.client-type}")
private String redisType;
@GetMapping("/redis")
public Object getRedis(){
return "redis连接地址: "+redisHost+"redis类型: "+redisType;
}
}
2.使用bean注入的方式获取
- bean
1 | |
controller
1
2
3
4
5
6
7
8
9
10
11
12@RestController
@EnableApolloConfig("redis")
public class BeanController {
@Autowired
ApolloConfig apolloConfig;
@GetMapping("/redisBean")
public Object getRedisBean(){
return apolloConfig;
}
}bean注入不会自动刷新,使用@RefreshScope注解
1
2
3
4
5<dependency>
<groupId>org.springframework.cloud</groupId>
<artifactId>spring-cloud-context</artifactId>
<version>3.0.1</version>
</dependency>自动刷新配置类
1
2
3
4
5
6
7
8
9
10
11
12
13
14
15
16
17
18
19
20
21
22
23@Component
public class RefreshConfig {
@Autowired
ApolloConfig apolloConfig;
@Autowired
RefreshScope refreshScope;
@ApolloConfigChangeListener({"redis"})
public void onChange(ConfigChangeEvent configChangeEvent){
boolean configChange = false;
for(String cKey : configChangeEvent.changedKeys()){
if (cKey.startsWith("spring.redis")){
configChange = true;
break;
}
}
if (!configChange){
return;
}
refreshScope.refresh("apolloConfig");
}
}bean
1
2
3
4
5
6
7
8@Component
@ConfigurationProperties("spring.redis")
@Data
@RefreshScope
public class ApolloConfig {
private String host;
private String client_type;
}目前会报错 还没找到原因,记录一下
1
2
Servlet.service() for servlet [dispatcherServlet] in context with path [] threw exception [Request processing failed; nested exception is org.springframework.http.converter.HttpMessageConversionException: Type definition error: [simple type, class org.springframework.context.expression.StandardBeanExpressionResolver]; nested exception is com.fasterxml.jackson.databind.exc.InvalidDefinitionException: No serializer found for class org.springframework.context.expression.StandardBeanExpressionResolver and no properties discovered to create BeanSerializer (to avoid exception, disable SerializationFeature.FAIL_ON_EMPTY_BEANS) (through reference chain: com.project.project7.config.ApolloConfig$$EnhancerBySpringCGLIB$$7b737735["targetSource"]->org.springframework.aop.target.SimpleBeanTargetSource["beanFactory"]->org.springframework.beans.factory.support.DefaultListableBeanFactory["beanExpressionResolver"])] with root cause
3.灰度发布
- 获取方式也是用@value,跟一一样
5.Apollo的高可用
- Post title:apollo 学习记录
- Post author:周瑜
- Create time:2021-03-15 11:38:55
- Post link:https://xinblog.github.io/2021/03/15/apollo-md/
- Copyright Notice:All articles in this blog are licensed under BY-NC-SA unless stating additionally.
Comments